In this article, I will describe how to set up the original Wing Commander for MS-DOS with modern PC FPS, emulation of orchestral sound effects courtesy of a Roland MT-32, and crisp, performant CRT “shaders” for that old-school monitor look. I am not very good with videos and realize that a lot of kids today can’t process information without visual aids, so I will attempt to document the process with as many screenshots as I can manage.
Step #01. Acquiring a Copy of the Game
Normally, for old games like this, I prefer giving my hard-earned money as close to the original developers of the game as I can. That way, I can encourage the new owners of the IP (Intellectual Property) to possibly consider a remake or reboot of the beloved game with modern gaming technology. For this purpose, I recommend you purchase Wing Commander I from the EA App available at https://ea.com, since they now own the Wing Commander license. This version does come with the base game, as well as the two expansions: Wing Commander – Secret Missions and Wing Commander – Secret Missions 2. You can find details about this version here. As you can see: it is a measly $4.99. So buy it and maybe these space sims can come back, ya’ cheap burrito-eatin’ bastards!
There are other, less terrible places to find the game of course, including GOG.com, AbandonWare sites, and even scoring a mint condition copy of the original diskettes (including the THICK manual they used to use back then) from eBay. You don’t need to worry about any copy protection or other forms of Digital Rights Management for the most part. The game is almost 30 years old and nobody cares. However, for the purposes of this document, I will be describing the process for the EA App’s version of Wing Commander I.
You must purchase (or acquire through, ahem, less savoury methods) and then install the game — a process that will be specific to each reader and outside the scope of this document. (Seriously, if you’re reading this and you don’t know how to install a videogame in 2025…) Make a note of the directory the game is installed to, because you will need to remember it for MULTIPLE later steps.
Step #02. Setting up a copy of DOSBOX-X
For proper attribution, metrics, and analytics purposes, I won’t link directly to the DOSBOX-X executable here. Instead, please go to their official webpage at https://dosbox-x.com/
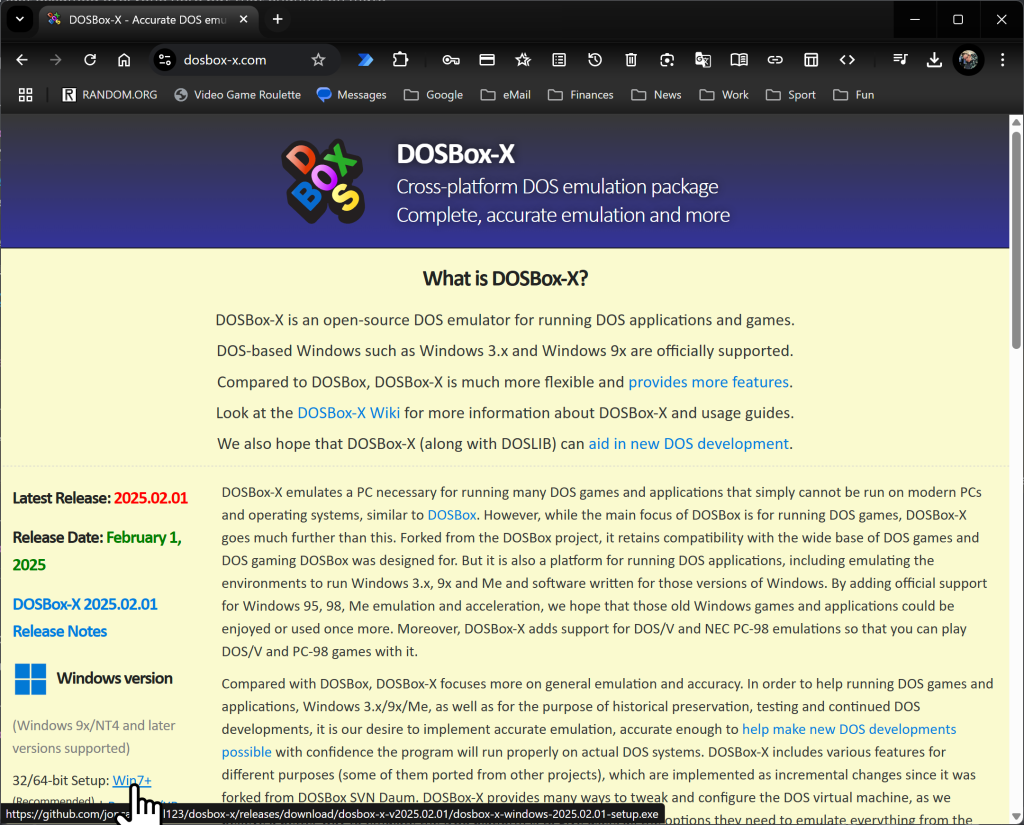
First thing you need to do is click on the Win7+ link as in the above image
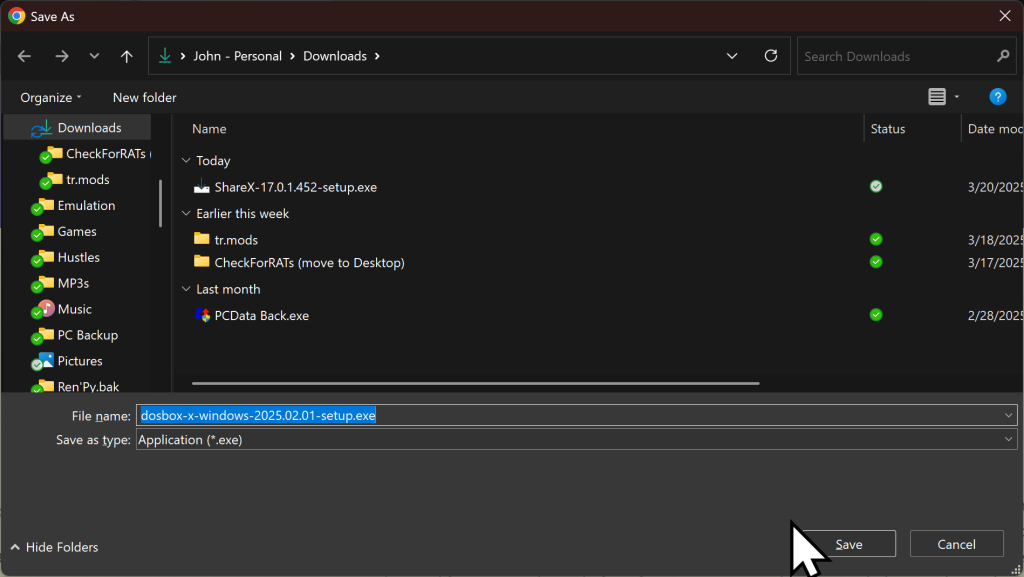
Just save the file to your Downloads directory, in Windows 7, 10, or 11.
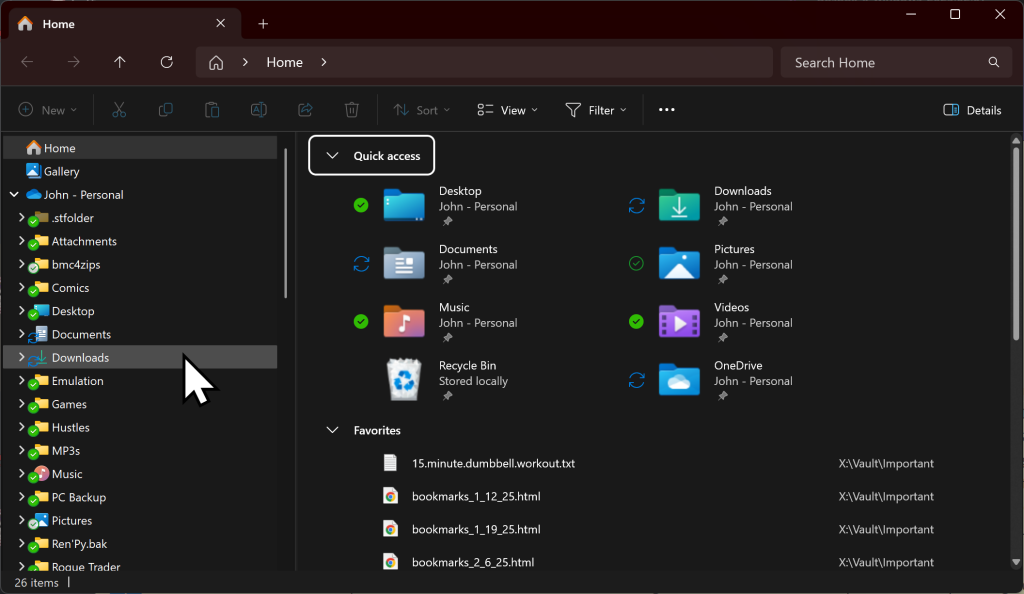
Find the Downloads directory in Windows Explorer…
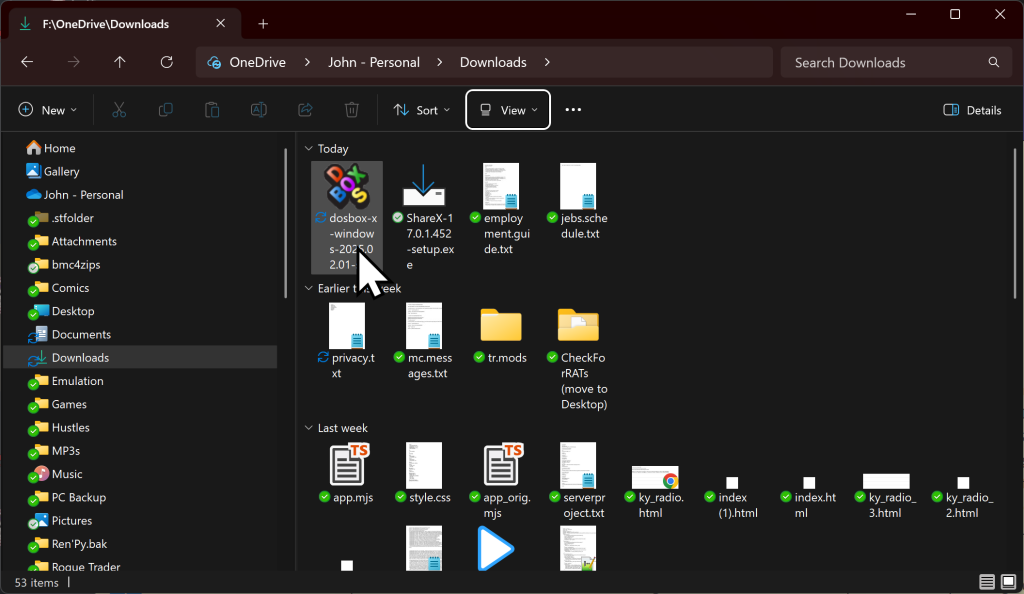
…You can see it here. Double-click this file…
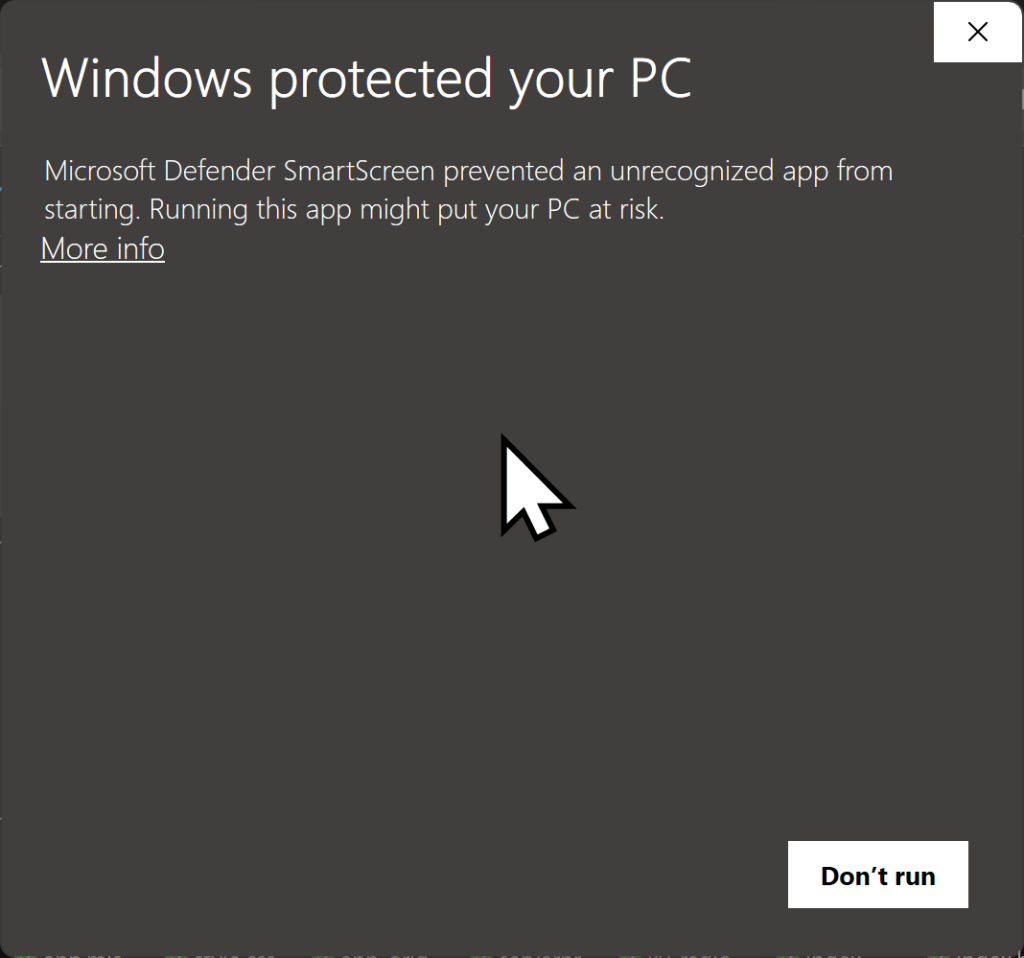
Since DOSBox-X is FREQUENTLY updated, you may receive a pop-up like this one. It’s nothing to concern yourself with, it only means that Microsoft is not yet familiar with the version of the app that you have downloaded. The developers of DOSBox-X are known and trustworthy, so please click “More Info” here.
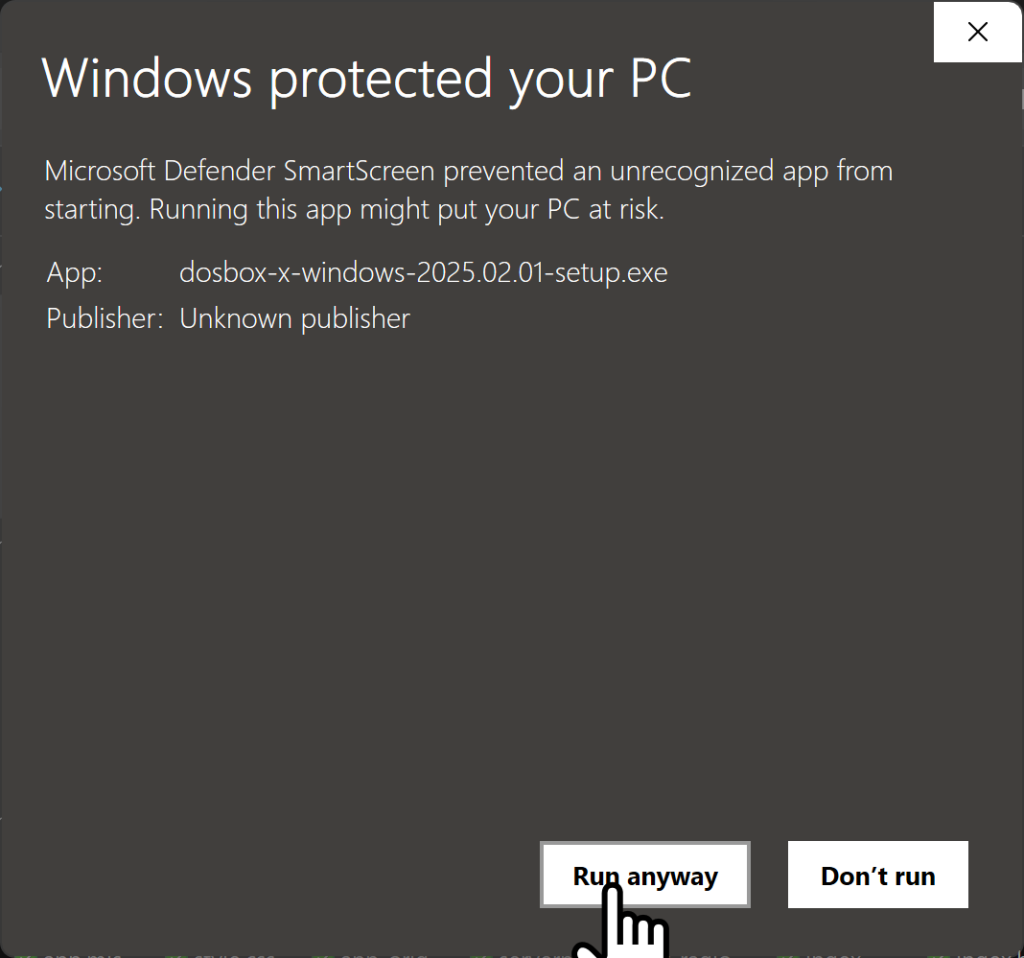
Then you will have to click “Run Anyway” to execute the file.
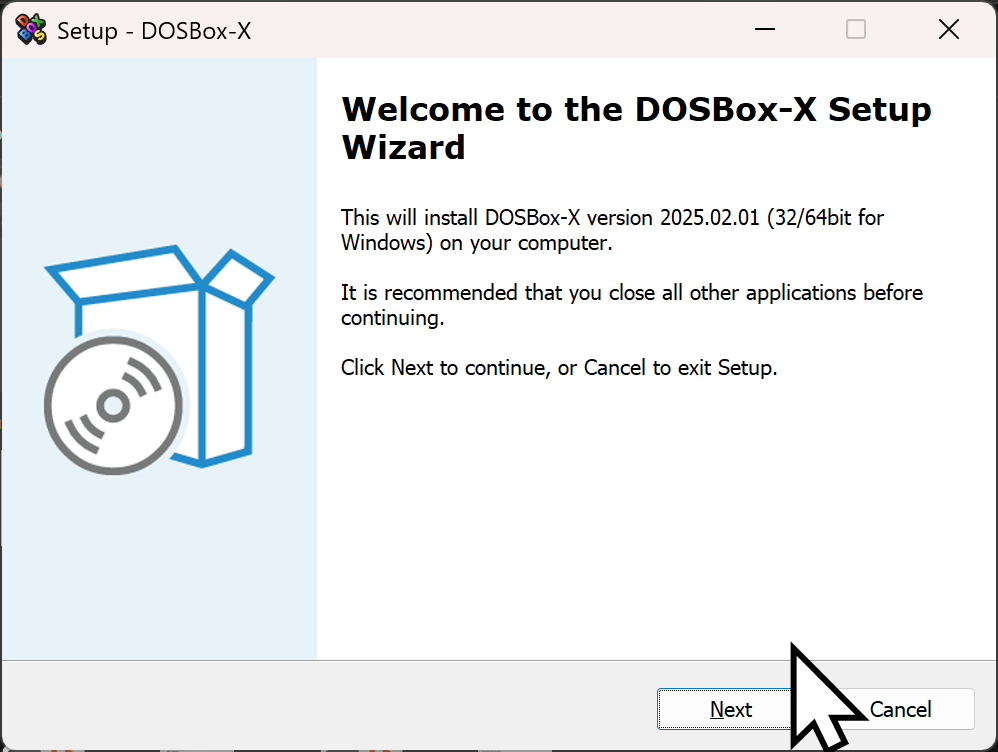
Click Next…
There is a License Agreement you must agree to. Click Next to accept, but only after reading it to verify that the app will not secretly steal your collection of erotic feet pics!
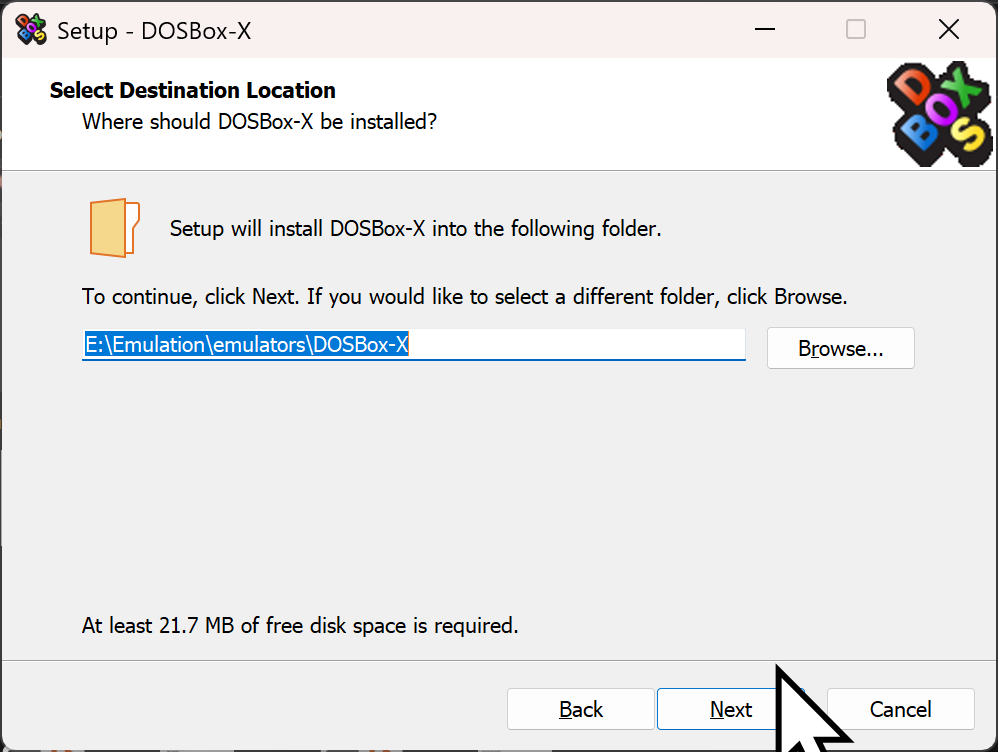
Here my installaton defaults to E:\Emulation but whatever is here by default should be fine. It will probably go to your C:\Program Files…
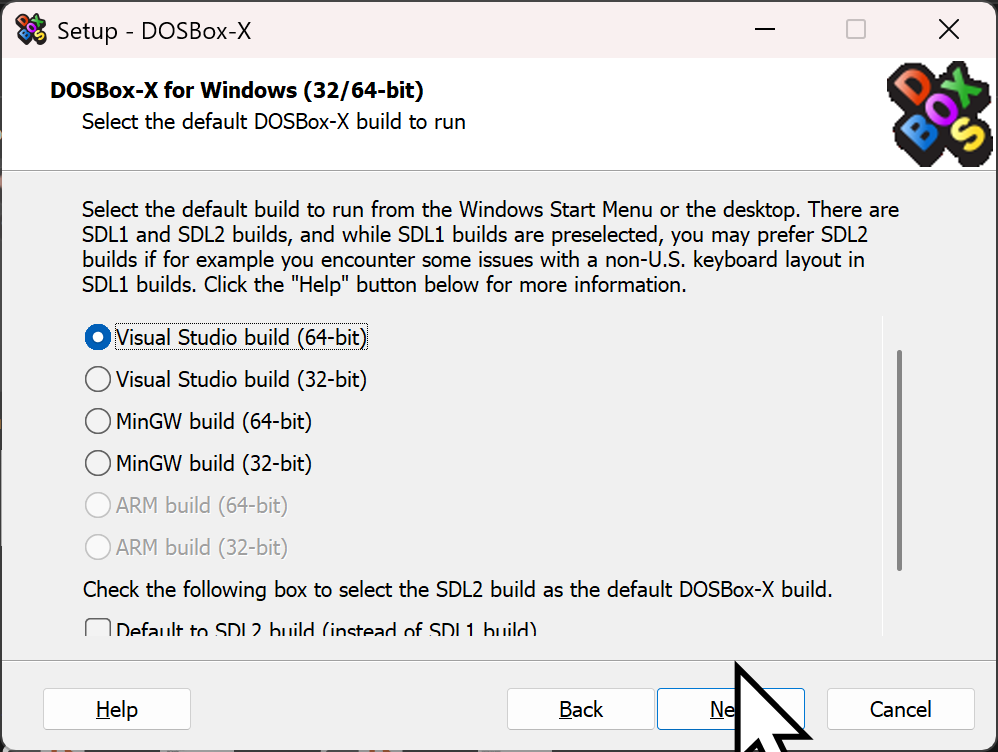
You need to select the version of the app you wish to install. The default should be fine…
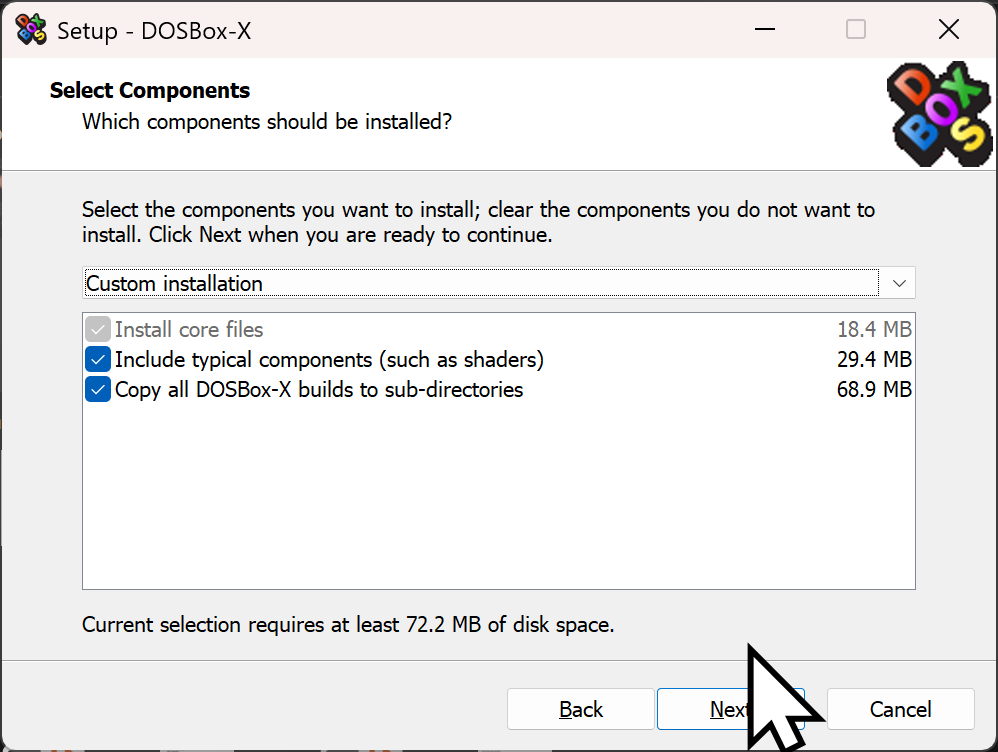
These should be checked by default, and you DEFINITELY want the nifty shaders, so leave them as-is…

Finally, the last step before Confirmation. These are the three default options, you should leave the rest alone. However, if you are old and pathetic like me, you may wish to emulate the slowness with which old DOS applications load into memory… This would be much more choice if floppy drive sounds were available, as with the popular Amiga emulators, but alas…
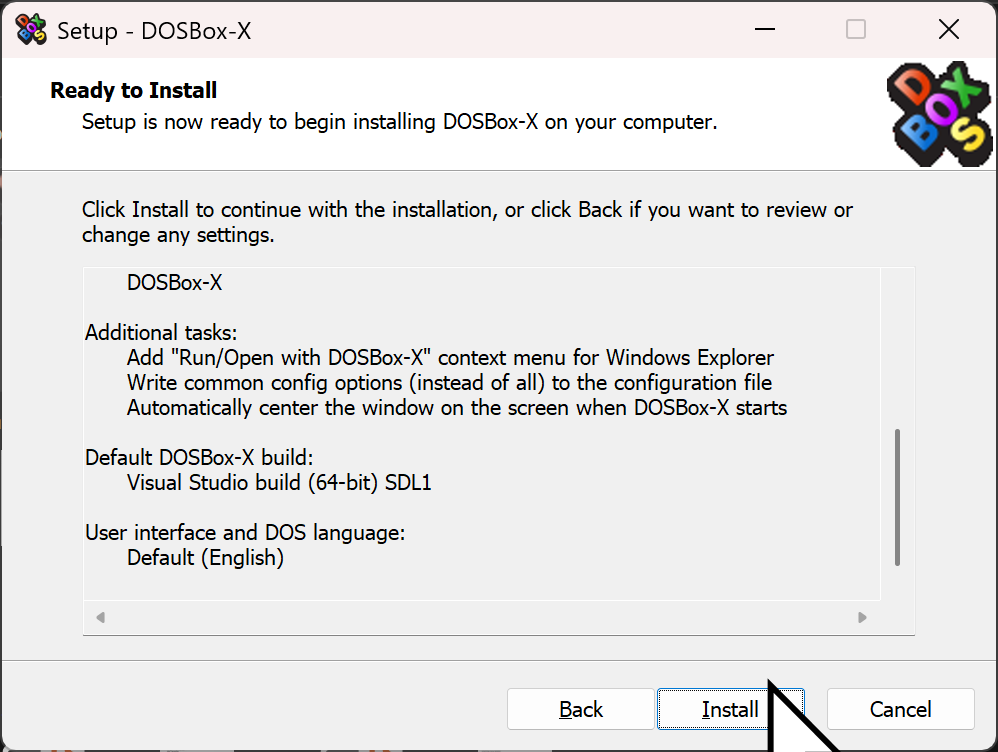
And now, “Confirmation.” Click Install and wait for installation to complete.
That’s it! Now you have a shiny new version of DOSBox-X installed on your Windows PC.
Step #03. Opening your “Wing Commander” Folder
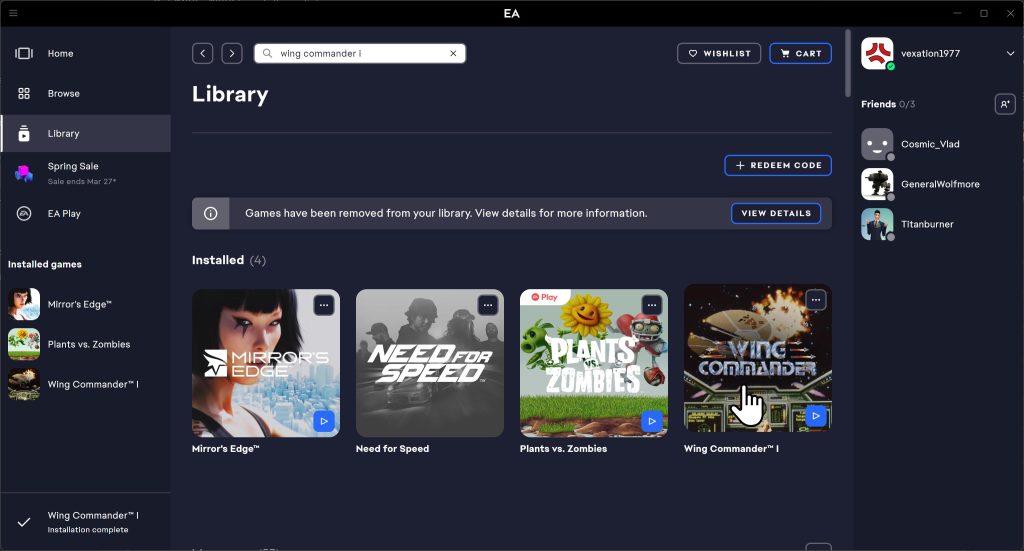
For this step, you will have to return to your EA App. In the “Library” Window, you will see small posters of your installed games… like this…
Click on Wing Commander, and you will see the below…
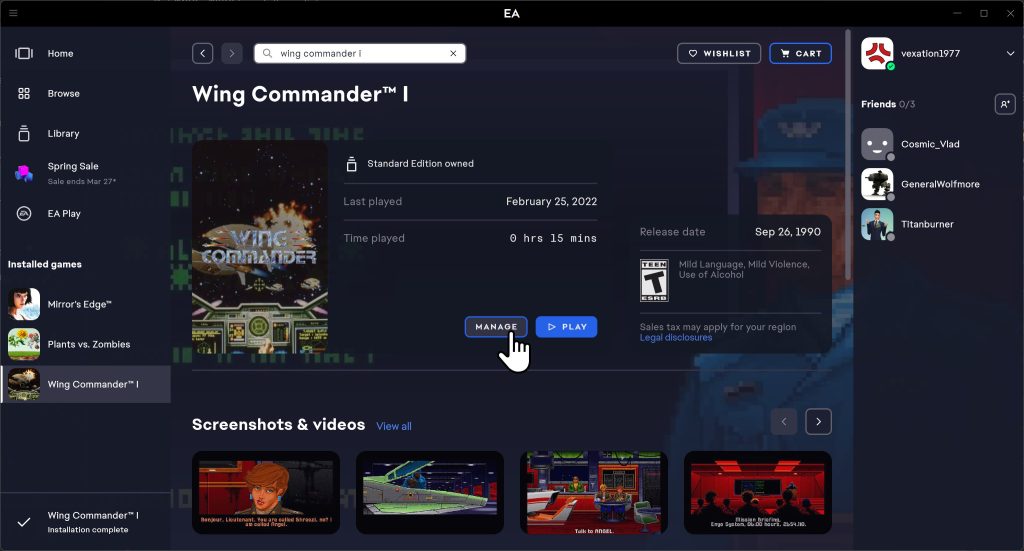
Click “Manage,” as indicated in the above screenshot. A dropdown will appear…
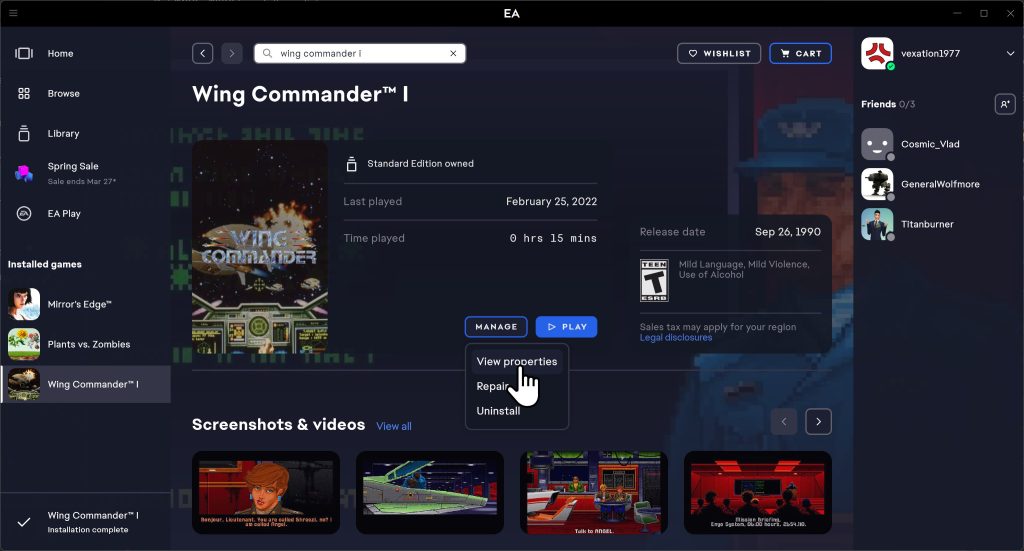
Click “View Properties.”
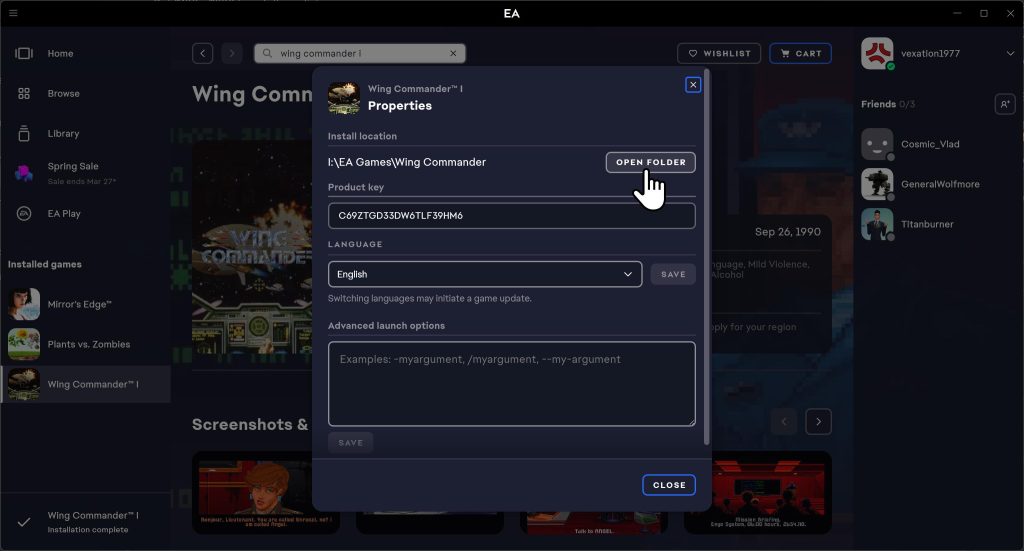
Now we can get to the actual folder! Click “Open Folder”…
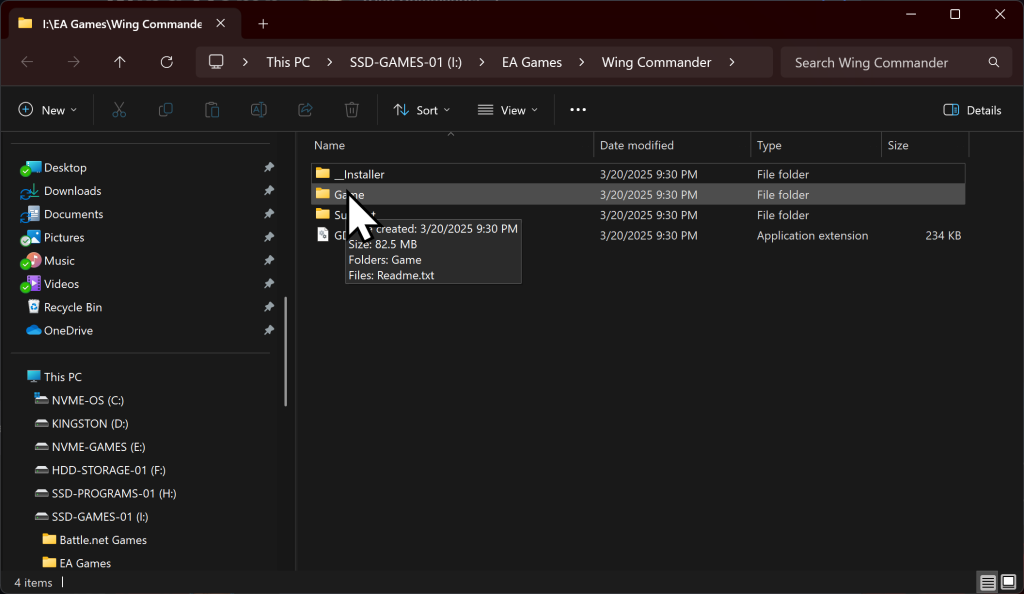
This will bring you to a bunch of bullshit. In the screenshot above, my Folder is on the I: drive, but it will probably be somewhere in C:\Program Files on your own system. That isn’t important right now. Keep following the directions…
Double click the “Game” Folder as above, and you will see yet ANOTHER “Game” Folder…
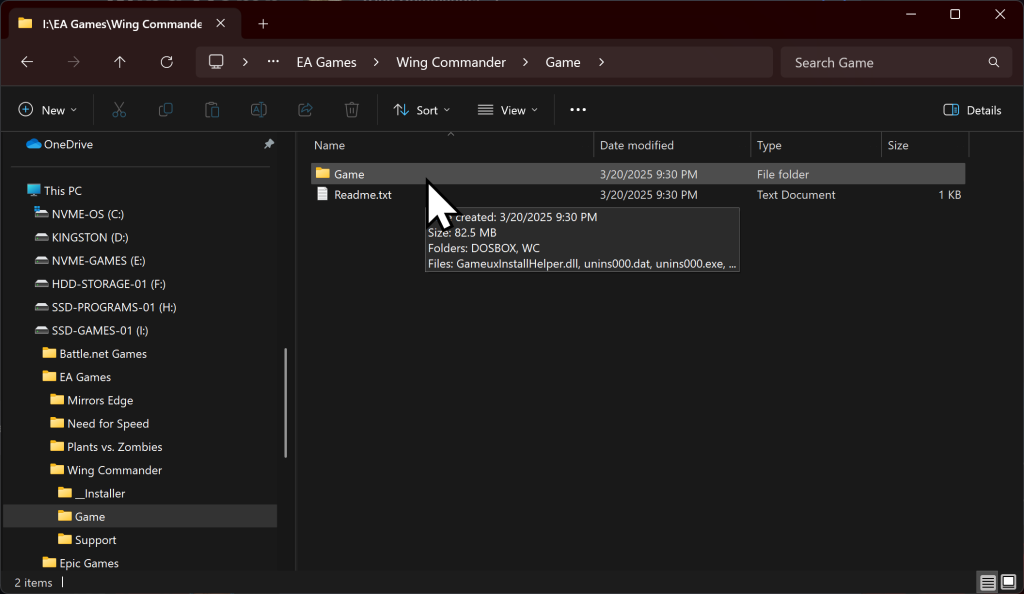
Double click this second “Game” Folder, and it will bring you to more bullshit…
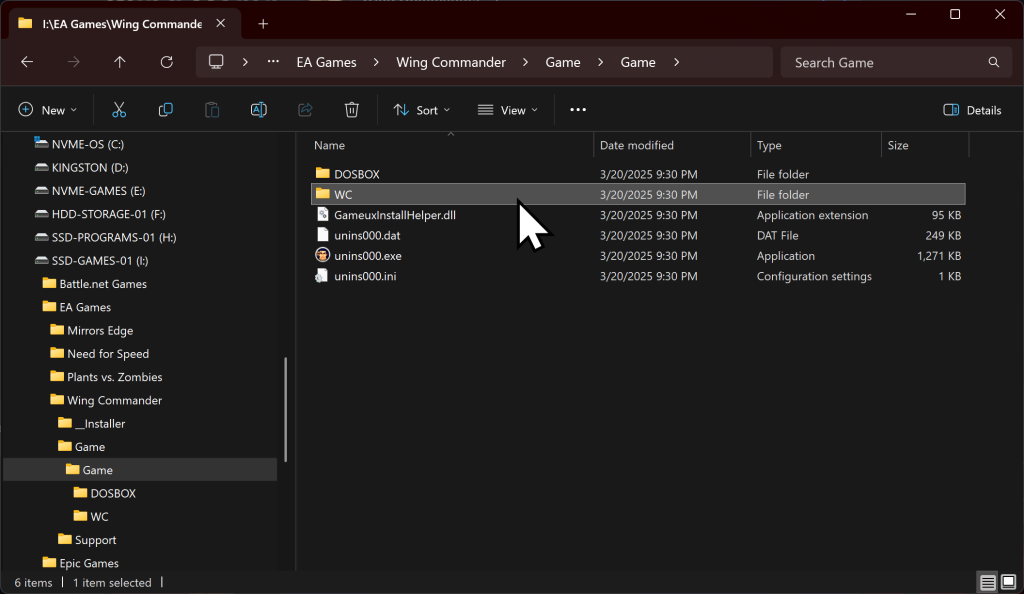
Just one final step for the “Money Shot” — the ACTUAL Wing Commander Game Files… Double-click WC…

And Voila! The “Virgin base game files” are now ready for exploitation by the modding “Chad”…
TO BE CONTINUED…